Stop by Lizzy Lynece!

Showing posts with label tutorials. Show all posts

Monday, September 13, 2010

Halloween/Fall Wreath

I've been a little blog lazy lately, there are about 3 or 4 projects that I have been working on all at once, and I hate it because I feel like nothing is getting done! I need to go back to my "one at a time" strategy. So here is a little something I whipped up last night.

This wreath is a combo of a couple of different creations that have been floating around blog world. The first I spotted was a Halloween cupcake holder topiary at Craft-O-Maniac, and the second was a Halloween ribbon wreath at Tatertots and Jello.

I wanted to make a wreath that was Halloweenish, but could still be used all through the fall as well. I guess an understated Halloween design. I grabbed a wreath form, ribbon, cupcake holders, and my glue gun and got to work.

First I cut the wide ribbon into 14 - 5" strips, and the smaller into 12 - 5" strips. Then glued the ends together to make a loop.
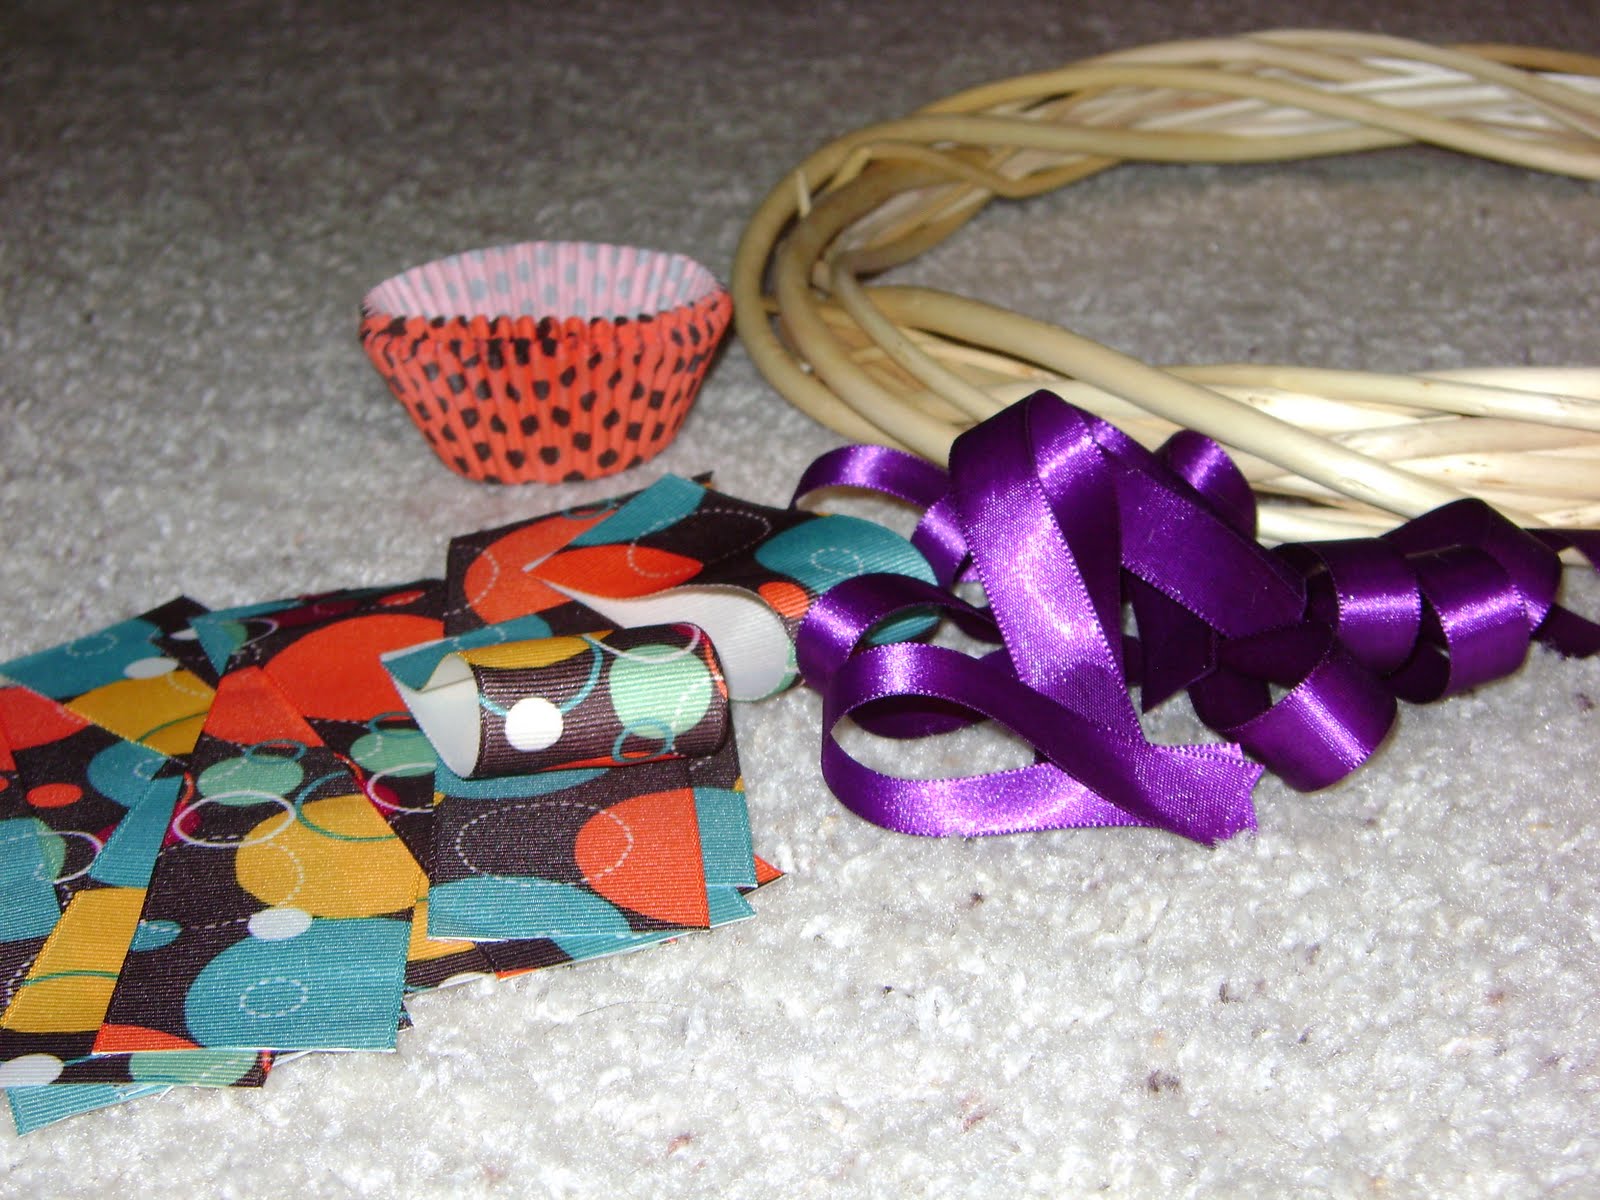
After that I started placing and gluing the cupcake holders. Scrunch them by placing a finger in the inside middle and pulling it down over your finger with the other hand. This gives you a nice flat part on the bottom to load up some glue on.

After gluing on all of the holders place the ribbon how ever you want it.

I'm a little afraid it ended up looking like an old stuffy wreath, but I love how the colors look together, so because of that it will be hanging proudly on the door for the next couple of months.


*You'll be seeing this at these lovely blogs.

Sunday, August 29, 2010

Book Page Topiary

I wanted to craft something on my day off, but being that it was my day off I didn't really want to leave the house. So I rummaged through my craft stash and found the awesome buckets I got on sale at TJ Maxx about a month ago. The wheels started turning and I grabbed a garage sale book, Styrofoam balls, which I don't even know why I had them, skewers and paint.


look at that awesome sale price!

I bought the buckets for the tag on the front, but 7 means nothing to me, so they would undergo a change. I gave the buckets a coat of blue craft paint. Spray paint would have worked better, but again I was not leaving the house, and blue spray paint was not in my cupboard.

Then came the time consuming part. Pull out pages, accordion fold, fold in half, repeat. Til I had a huge pile. Or so I thought. That pile you see was barely enough for one ball. So...back to pull out pages, accordion fold, fold in half, repeat.


After hot gluing on the pages it looked pretty sad. I started to think this was a total waste of time. But I pressed on and continued to fill in the gaps and tried to "make it work," as Tim Gunn would say.

Once I was finally done gluing and folding, I mod podged some scrapbook paper over the number tags, stuck a skewer in the ball and put it through the cardboard barrier I put in the bucket. To cover the cardboard I made a big rosette and called it good. The book-page topiary's now have a place on the tv stand.


*you'll probably see this here and there.


Wednesday, August 25, 2010

Buttoned Belt

Remember this little beauty? Well when I chopped off the bottom I salvaged the scraps to make a belt. I hate waist seams...they needed to be covered.

Unfortunately I didn't take any pics for a tutorial, but here is a quick rundown. I shaped the belt with a little flare at the end and had in mind that I wanted it to pull the belt through itself, fold and button. I sewed some medium weight facing to the wrong sides of the belt pieces and then flipped it all right side out. At this point I decided to put a stitch 1/4" in all the way around for a more finished look. Last were the two button holes...my FIRST 2 button holes to be exact! One to pull the belt through and the other for the actual button. Sewed the button on and all done!


I'll be linking up to some of these great blogs...you should too!

Wednesday, August 4, 2010

Window Pane Headboard Tutorial

I got the opportunity to guest post this project on Tatertots & Jello about a month ago, but for anyone who missed out... here you go. :-)

Our subdivision had a neighborhood garage sale. I found a lot of little things, but this was by far the best find. Better yet, it was FREE!

It stayed in our garage for a couple weeks while I contemplated what to make of it. Should I hang it? But which room? Maybe a table? I finally had an epiphany one night and though, "hey I bet that is about same size as our guest bed!" I measured it and the bed the next day and sure enough the bed was 52" and frame 57". Close enough.


What you'll need:
A window pane (or you can skip that part and go straight for the MDF)
MDF
Four 2' pieces of 2"x2" (especially if you don't have a saw like us)
Fabric
Batting
Foam (if you are nixing the window pane)
Screws and a staple gun


I started by sanding, priming and repainted the window pane to match the guest room. After painting I saw that the blue paint still showed through from the back side. Just take a razor blade and start removing. As you can tell, I had A LOT to remove.


After you have it all painted set it aside and start on the MDF. If you have a window pane you can just cover your MDF with a layer of batting and fabric. If you are going sans pane, put in the extra foam then batting covered by the fabric so it is cushy.

Pull fabric and batting taut and staple around edges. I did the top and bottom first and then each side so that I didn't pull the fabric in a skewed way.

Before or after you put the fabric on (we did this before) mount 2 of the 2"x2" pieces to the center of the MDF. Make sure they are centered! This will be used to mount the headboard to the wall.
After the fabric is on, mount the back (the fabric covered MDF) to the pane using screws every few inches.
* On a side note: I found it worked best to stretch the fabric and batting taught while drilling the screw holes so that you don't end up with these little guys on your hubby's drill bits.

Now comes the mounting part. Because we don't have a saw we had to do things a little differently. Take the remaining two 2"x2" pieces and screw them into the wall, centered over the bed and spaced far enough apart so that the headboard mounts rest on each wall mount (As shown above). Once in place screw the two mounting pieces together from the top.

Now your headboard is set and ready to be used...or just looked at :)


*Linked to Simply Designing

Sunday, August 1, 2010

Picture Place Mats

Happy Late Birthday Dana!

These place mats were made purely out of love for my sister's birthday. Unfortunately her birthday was on Wednesday, and they have yet to make it to the post office.

This project was much more involved than I originally thought, probably because of all the strait lines I decided to use. To start I used a place mat of my own as a guide for cutting out the mats. Then I cut the clear vinyl about 1/2" bigger on both the top and side to allow for the ribbon placed around it.

First place and sew the picture windows.
Next I glued all of my ribbon embellishments down with some fabric glue.
After that, place the right sides of the mats facing it and then a layer of batting and pin together.
Sew the 3 pieces together, trim the corners and flip right side out. Lastly, I sewed a border stitch, which took care of the opening when I flipped them.

Stenciling the S on was done by printing out an S on card stock, cutting it out with an exacto knife, and pinning it in place. Its best to dab the paint on so it wont run. I touched up the edges afterwards with a little paint brush.


A couple ribbon rosettes and they were finished.


You can find this linked up this week at...

Sumo's Sweet Stuff

Craft-O-Maniac
Today's Creative Blog
Someday Crafts
Fingerprints on the Fridge
Tatertots & Jello
Simply Designing

Have a Happy Sunday!

Thursday, July 29, 2010

Express Inspired Headband

This really cute Express Headband caught my eye the other day while shopping. One glance at the price tag...$19.50, and I kept walking. But as things do, I kept thinking about how cute it was and what outfits I would wear it with. So I looked at another pic online and got to work.


I picked up a 5-pack of skinny plastic headbands in brown and black at the Dollar Tree and some black ribbon at Walmart for I think $1.47 each roll. So for less than 5 bucks I was determined to make a similar headband.

I used a sheer and satin ribbon for a little more texture. I lined them up on top of each other and gather the pieces by hand til I had the right length and gather-age. With the ruffle done, I took the satin ribbon and made a loose rosette to put at one end.


Once those were done I just hot glued the ruffle and rosette to the band...and DONE! I have a new headband I plan on wearing to church this week!


I will be linking up at these parties this weekend:
Tatertots and Jello
Crystal's Craft Spot
Fingerprints on the Fridge
Just a Girl
The Shabby Nest
A Few of my Favorite Things
Someday Crafts

LinkWithin

Related Posts with Thumbnails