
Our subdivision had a neighborhood garage sale. I found a lot of little things, but this was by far the best find. Better yet, it was FREE!
It stayed in our garage for a couple weeks while I contemplated what to make of it. Should I hang it? But which room? Maybe a table? I finally had an epiphany one night and though, "hey I bet that is about same size as our guest bed!" I measured it and the bed the next day and sure enough the bed was 52" and frame 57". Close enough.

What you'll need:
A window pane (or you can skip that part and go straight for the MDF)
MDF
Four 2' pieces of 2"x2" (especially if you don't have a saw like us)
Fabric
Batting
Foam (if you are nixing the window pane)
Screws and a staple gun

I started by sanding, priming and repainted the window pane to match the guest room. After painting I saw that the blue paint still showed through from the back side. Just take a razor blade and start removing. As you can tell, I had A LOT to remove.


After you have it all painted set it aside and start on the MDF. If you have a window pane you can just cover your MDF with a layer of batting and fabric. If you are going sans pane, put in the extra foam then batting covered by the fabric so it is cushy.
Pull fabric and batting taut and staple around edges. I did the top and bottom first and then each side so that I didn't pull the fabric in a skewed way.
Before or after you put the fabric on (we did this before) mount 2 of the 2"x2" pieces to the center of the MDF. Make sure they are centered! This will be used to mount the headboard to the wall.
 After the fabric is on, mount the back (the fabric covered MDF) to the pane using screws every few inches.
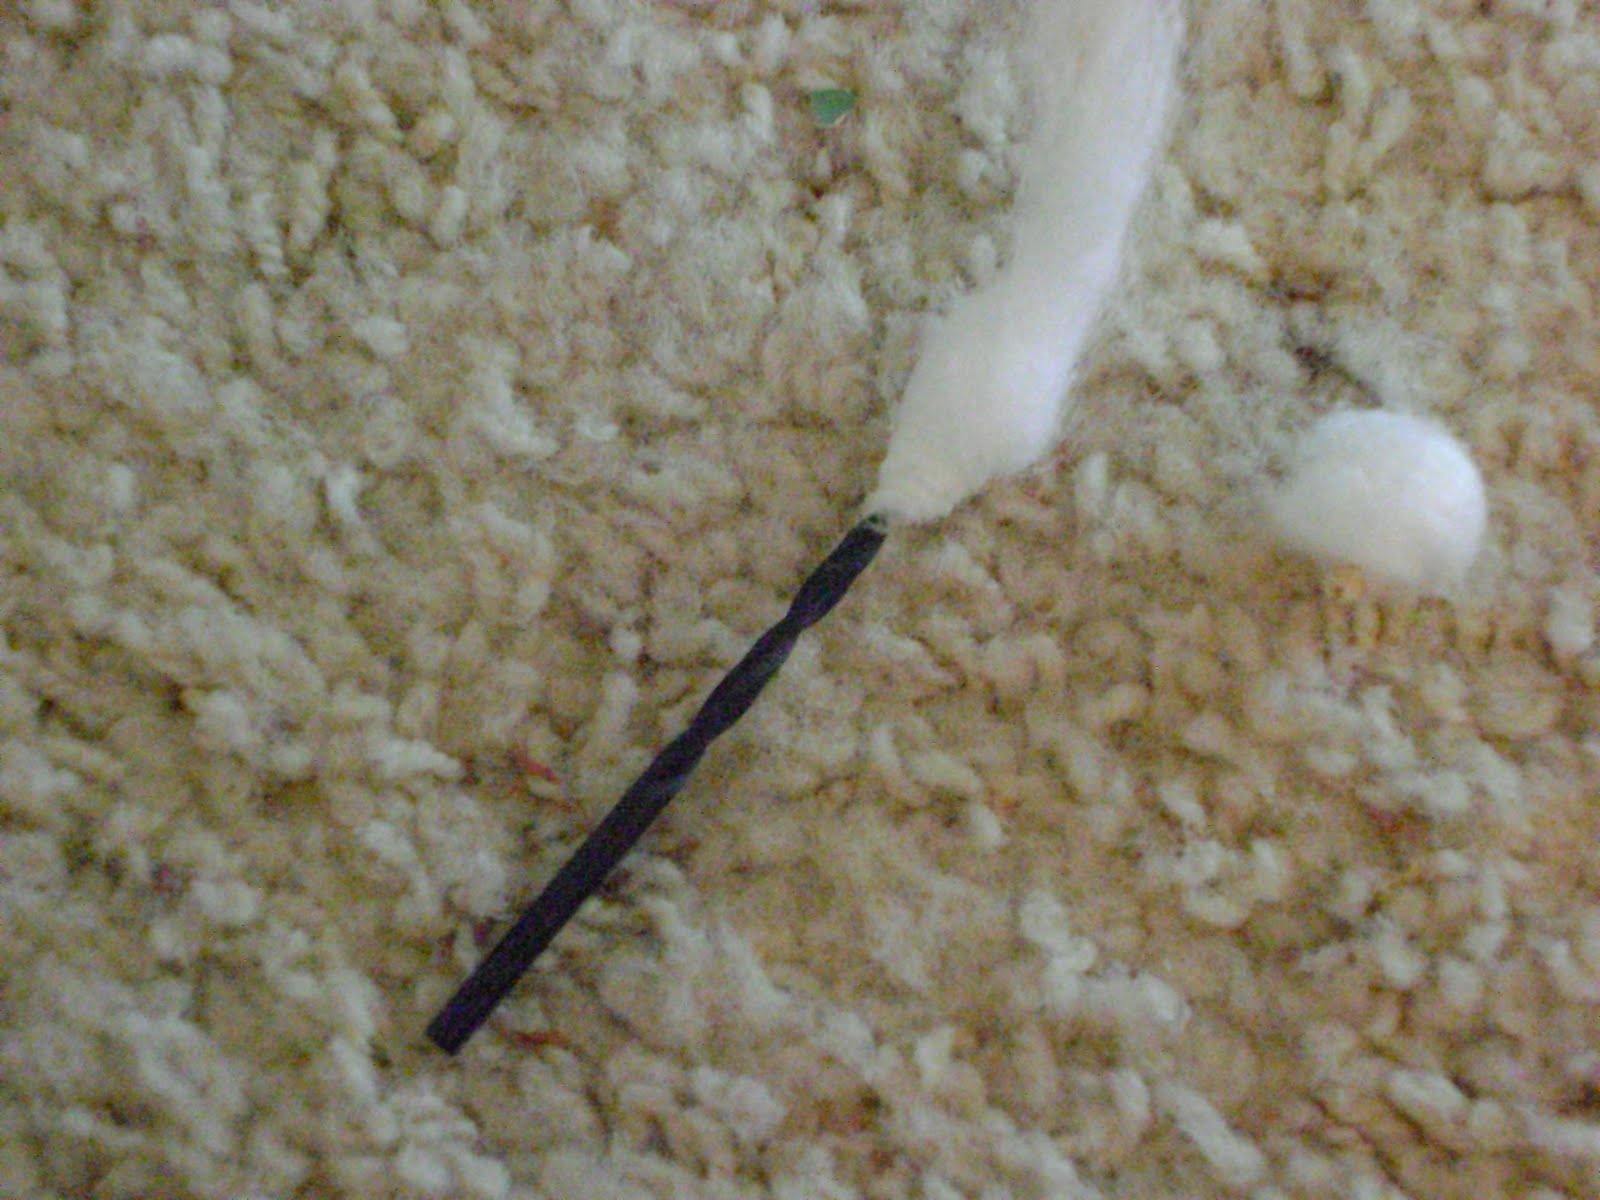
* On a side note: I found it worked best to stretch the fabric and batting taught while drilling the screw holes so that you don't end up with these little guys on your hubby's drill bits.
 Now comes the mounting part. Because we don't have a saw we had to do things a little differently. Take the remaining two 2"x2" pieces and screw them into the wall, centered over the bed and spaced far enough apart so that the headboard mounts rest on each wall mount (As shown above). Once in place screw the two mounting pieces together from the top.
 Now your headboard is set and ready to be used...or just looked at :)

*Linked to Simply Designing


