My friend told me about pillowcase dresses that she was going to make for her daughter. I decided to check them out since in my mind I pictured little girls walking around in cloth trash bags. Well they are a lot cuter than trash bags, and I attempted one for my niece.

I think you are supposed to actually use pillowcases, but I had a bunch of this brown fabric left over, so that's what I started with.

Cut the fabric into two identical rectangles depending on the size of the child. My niece is only 6 months old, so I felt like I was making dolls clothes.

Draw a line on each side for the arm holes. Make sure to take into account the inch and a half you will be folding over for the tie. I did not and ended up having to add fabric because I got all worried it would suffocate her little arms.

Then hem up all of the outside edges...arms, bottom hem, neck. For the neck sew down about 1/4 to 1/2 an inch, then fold over about another inch and sew again. This is where you'll thread the ribbon through. Then sew up the sides and you are all done.


I had to include a tag so she would know who gave this to her...(she has 2 other aunts and a crazy-talented dress making G-ma that spoil her).

Just an FYI: My main pet peeve about sewing is all of the measuring. I managed to only measure the overall size of the dress, and eyeballed all of the seams and hems. I think my mom would have slapped my wrist had she seen what was going on.


 I think you are supposed to actually use pillowcases, but I had a bunch of this brown fabric left over, so that's what I started with.
 Cut the fabric into two identical rectangles depending on the size of the child. My niece is only 6 months old, so I felt like I was making dolls clothes.
 Draw a line on each side for the arm holes. Make sure to take into account the inch and a half you will be folding over for the tie. I did not and ended up having to add fabric because I got all worried it would suffocate her little arms.
 Then hem up all of the outside edges...arms, bottom hem, neck. For the neck sew down about 1/4 to 1/2 an inch, then fold over about another inch and sew again. This is where you'll thread the ribbon through. Then sew up the sides and you are all done.

 I had to include a tag so she would know who gave this to her...(she has 2 other aunts and a crazy-talented dress making G-ma that spoil her).
 Just an FYI: My main pet peeve about sewing is all of the measuring. I managed to only measure the overall size of the dress, and eyeballed all of the seams and hems. I think my mom would have slapped my wrist had she seen what was going on.


 I wanted to give the pillow more flare so I randomly cut diagonal strips down the center of the pillow. I sewed the strips with the seams facing out to give it more texture.
 When you are ready to sew the pillow case together, hem the the lose edges of the short ends and then fold each end toward the center. I folded them on top of the pillow first and marked where the two ends would meet on the overlap.
 Pin everything together on the two open ends and head over to the sewing machine.
 Sew down both ends, strait over the flaps and everything. Once sewn, flip that bad boy right side out and stuff the pillow in. I pressed my seams down at the end to make them stand out more.


 Here is the flap. I lucked out and used the seared ends of the fabric so I didn't need to sew a hem to close any raw edges.


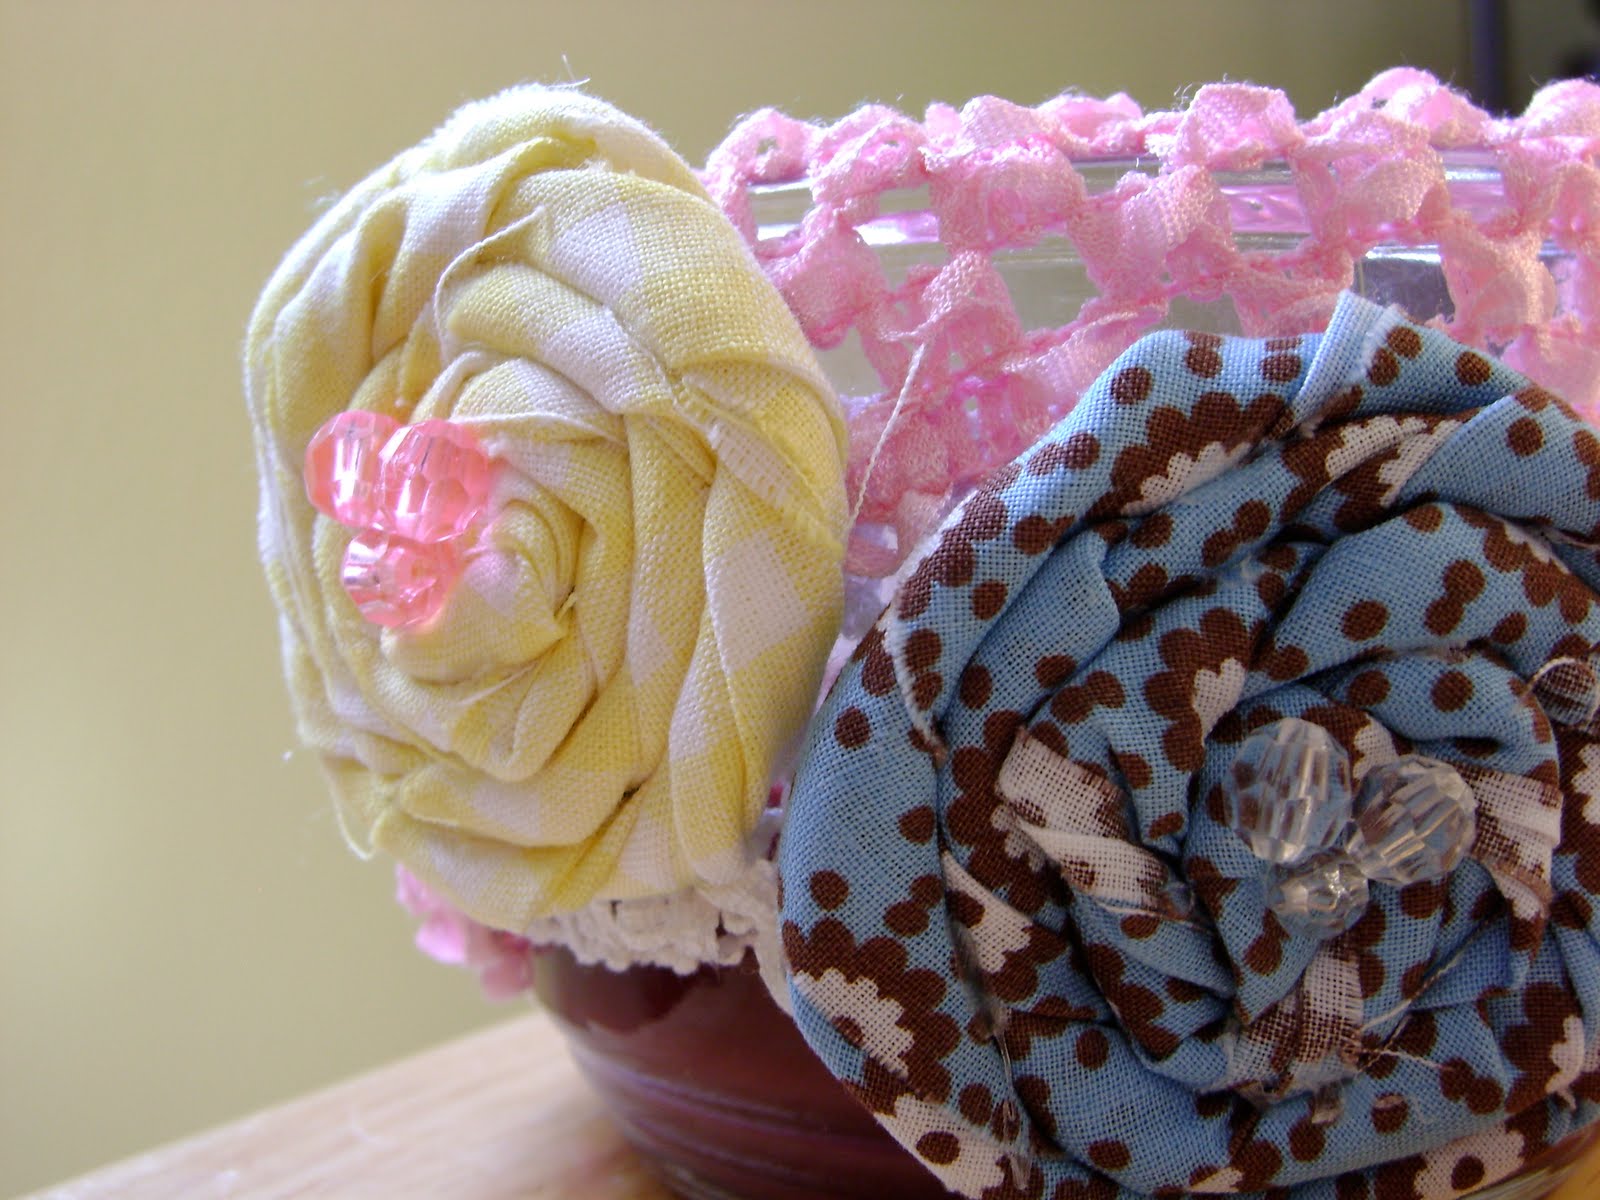
 As of right now I have no baby's head to model the headbands on, so I decided that this candle would do just fine. It loved the spotlight.


 The suspense is just killing you, isn't it?